We understand that every hike can be a bit of a challenge, even more so if it is in the Andes, but the amazing views, the contact with a unique nature, and the ruins of an ancient civilization that you'll discover on the route will be priceless. However, to enjoy all these experiences, you need to hike comfortably, without thinking more about the exhaustion or suffering that the geography of the Andes can cause. Therefore, using trekking poles can make every hike more enjoyable, kinder on your joints, and steadier than ever. But, how to use trekking poles? How many types are there? In this guide, you'll find clear answers to how to use them and other facts about the trekking poles. Accompany us!
Types of trekking poles
With so many different hiking poles out there, it's easy to get confused. But don't worry, we're here to help you understand the difference between hiking sticks and trekking poles. Now, let's talk about the differences between them.
Hiking Sticks
Hiking poles are generally a bit wider, sturdier, and sometimes fixed length (not adaptable) than trekking poles, and may come with cell phone holders at the top of the handle for use as monopod. These are sold separately (only one pole) or can be sold as a pair. They are also ideal for hiking on flat, gently sloping surfaces.
Trekking Poles
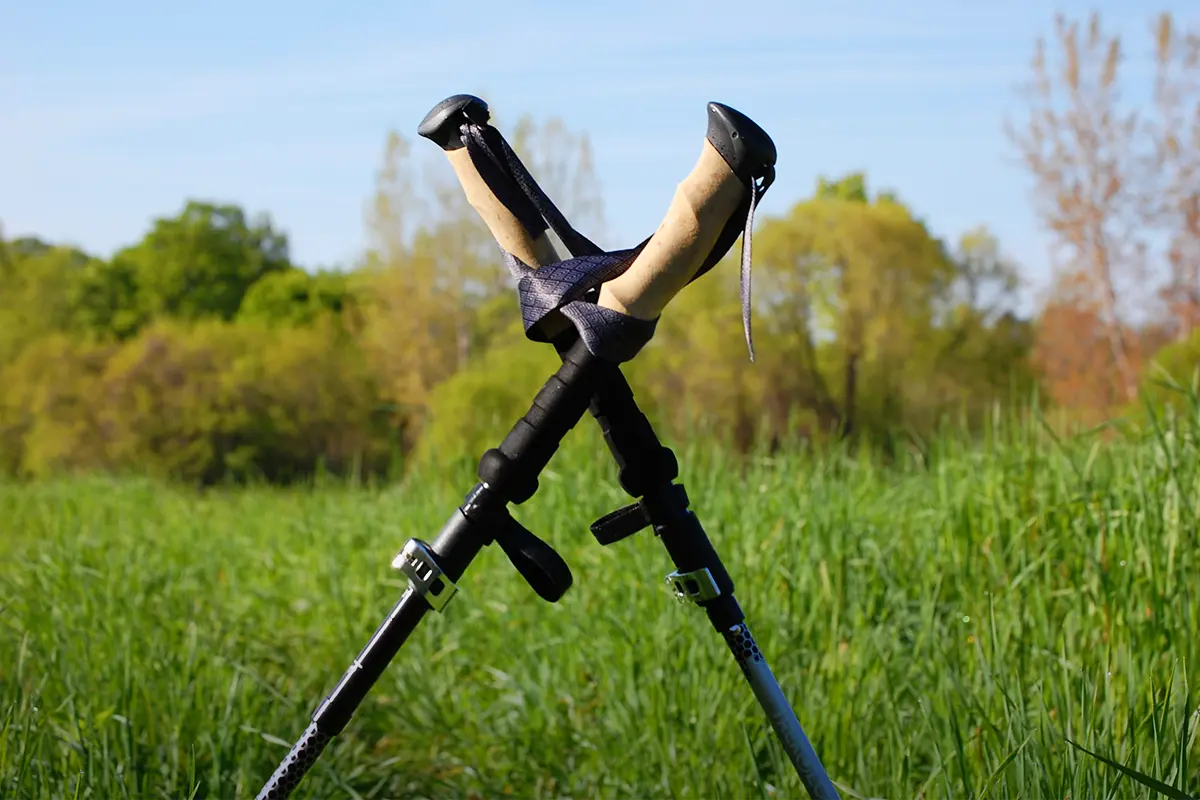
On the other side, the trekking poles are collapsible, often two-piece or three-piece (their lengths can be modified), and these poles shine on multi-day treks where portability matters. These poles always come in pairs; they are thin and improve stability and reduce pressure on the knees. They also vary in the handle; some are made of cork, others of rubber, and some come with baskets on the bottom to prevent sinking in marshy areas and crevices. Others come with carbide or steel tips to ensure better grip on rock or ice surfaces, and others come with rubber to protect the surface of attractions with high tourist traffic.
Who can use it
What are the advantages of using trekking poles? The advantages are truly numerous if you know how to use trekking poles correctly. And the best part is that everyone can use it, from beginners to experts. Whether you’re a weekend stroller, a long-distance thru-hiker, a runner looking for uphill help, or someone who simply wants extra balance on muddy trails, trekking poles can suit you. Kids, adults, and seniors; all can benefit from a well-adjusted pair.
For experts
Give your upper body a workout, keep a brisk rhythm, and reduce knee stress on relentless descents. Trekking poles are a must-have for experienced hikers. They help us go further, discover new places, and move more safely. They'll give you that stability you need to stop looking at the ground and look up, enjoying the beautiful Andean landscapes like Machu Picchu. You'll feel confident and sure-footed as you make your way over uneven terrain.
For beginners
We understand that trekking poles can be a game-changer for first-time hikers. They can make a very challenging route much more manageable, allowing you to enjoy the journey. The trails in the Andes can be slippery, with sloping rocks (sometimes wet), protruding roots, loose dirt, and thick mud. And for that, you have to know how to use trekking poles! They make it so much easier to climb up and down steep steps and avoid dangerous areas with better balance.
So, you'll be glad to know that the initial fear you might have felt at first will probably disappear after just a few steps, thanks to the extra support provided by these poles. Whether you're a youngster or a senior, you'll feel like you're moving forward with confidence and enjoying the Inca trails and others in South America.
For injuries
In some cases, trekking poles can be the ideal support for resuming walking after an injury. When you use them the right way, they'll take the weight off your feet, ankles, back, legs, and hips by spreading the load evenly between your upper and lower body. They're also great for helping you recover from arm and shoulder injuries because they provide more stability on uneven terrain and protect you against sudden movements caused by tripping or falling. When you're picking out a pair, they must be the right weight and have a system for adjusting them that works for you during your recovery.
For people with disabilities
Disabled hikers use trekking poles in many ways. They use the poles to find their balance on all types of terrain, not only in "difficult" places, but also for sitting and standing. They also use them as an orthotic tool to elevate the legs while sitting. Without mentioning that these help with proprioception (or body awareness without looking) by giving them another sensory point to feel the physical connection between their bodies and the surrounding landscape.
How to Use Trekking Poles
In general
It's really important to make sure your trekking poles are at the perfect height for you. If you're not getting the right support, it can lead to some discomfort in the shoulders, back, knees, or neck. I'm curious, how do you know what the ideal height is? It is recommended that, when holding the pole with the tip resting close to the feet, the elbow should form a 90° angle. This position indicates that the baton is well adjusted.
Most of the current models can be adjusted in length, which makes it easier to find the perfect size for you. But don't worry, there are also canes with fixed sizes or that come in different sizes, so you'll be able to find the perfect one for you!
For three-section poles, it's best to start by adjusting the upper part so it's in the center of its range. Then, gently adjust the lower part until you get the perfect right angle for your arm (90° angle). That way, if you need to make any changes during your walk, you can simply move the upper part without having to modify the whole cane.
For ascents
If you're looking to have a little more control and power when climbing hills, you might want to consider shortening the poles by 2 to 4 inches (5 to 10 cm). The steeper the climb, the shorter they should be. The goal is for the poles to help you climb without straining or tiring your shoulders.
If, when using them, you feel that your shoulders are in a strained posture, as if you were propelling yourself with a barbell, or if the backpack straps are pushing them upward, it is a sign that the poles are too long and need to be shortened even more.
For descents
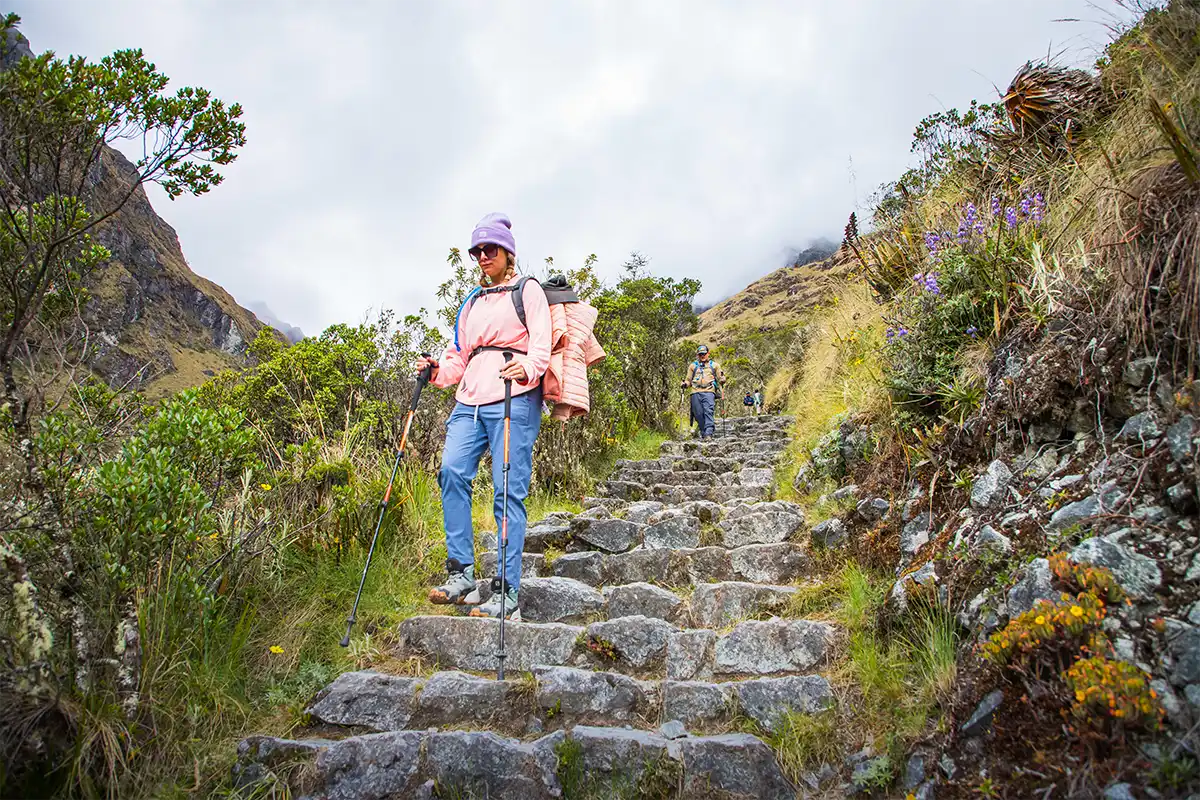
Extend each pole 2 to 4 inches (5 to 10 cm) further than you would on a normal walk. Raising your hands a little when descending has several benefits: on the one hand, it helps you maintain a more upright posture and improves your stability; on the other hand, it allows some of the impact when descending to be distributed between the poles, your hands and your upper body, thus relieving the load on your knees and fatigued legs every time you lean on the pole.
For long journeys
You can adjust the length of the pole according to the terrain: shorten it when ascending and lengthen it when descending for greater comfort and balance. This way, you will maintain good stability on slopes.
Logs
If you are going over a log, stick the poles behind it to gain stability. In case you need to walk over the log to cross water, extend the poles on both sides to balance yourself, as a tightrope walker would. If the log is low and the water is not deep, you can lengthen the poles to rest them directly in the water to gain more stability.
Stream and river crossings
Knowing how to use trekking poles gives you the support you need when crossing water. Each time you lean on them, make sure they are firmly placed on the bottom before taking the next step. If the riverbed is deep or the ground is full of rocks, it is advisable to lengthen the poles.
Puddles
You can go around them using the poles to keep your balance, or make a small jump with both poles on the ground to propel yourself to the other side.
Large rocks
To climb a large rock, place the poles in front of and to the side of it, pressing down hard as you climb to help propel yourself.
How to adjust the wrist straps?
Set pole length so your forearm rests at roughly a right angle when the tip is on the ground beside your boot. Twist-lock or flick-lock mechanisms should be snug, but never forced. Check scales or markings for quick matching between poles.
Wrist straps
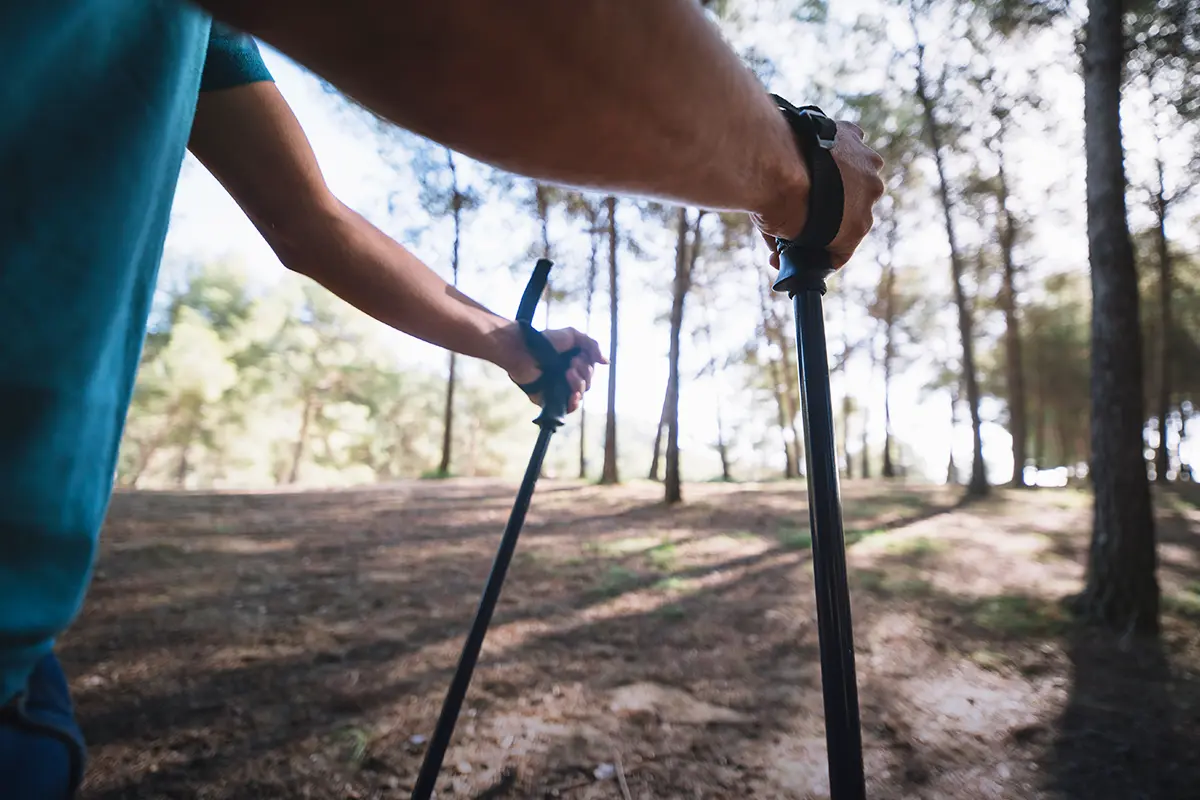
Wrist straps are key to the proper use of trekking poles, although it is common to see many hikers using them incorrectly or simply not using them at all. The proper way to put them on is by inserting the hand from below and then pulling down to hold the pole. In this way, the wrist and the base of the palm are well supported, allowing you to hold the pole with a relaxed hand.
The strap should be adjusted so that, when you rest your hand on it, it is aligned with the point where you want to apply pressure. Correct adjustment will allow you to easily let go of the pole to take a photo, grab a snack, or adjust your backpack, and then pick it up again without any problem. It also makes it easier to use the pole when wearing gloves, as it makes it easier to grip.
Take note
If you like this information, we invite you to support us so you can receive new posts with valuable information, TreXperience is competing for best travel agency at the 2025 World Travel Awards. Vote for us!
Useful tips
- You can double-brace your poles for added stability. This is especially useful on steep slopes, both ascending and descending, as having both poles firmly planted on the ground provides better balance.
- Move naturally. When using trekking poles, let your arms swing as they normally would when walking. Keep it simple; walk as if you weren't carrying poles. Lean them back slightly when you place them down to help you move forward with momentum.
- Coordinate the movement of your poles with that of your legs. The most common and effective way is to move the pole opposite your forward foot (left pole to right foot, and vice versa). This technique helps reduce the load on each step and improves balance while walking.
- Keep spare rubber tips in your pack for sections where metal tips could damage delicate surfaces.
- Dry sections of pole tubes after every trip to prevent corrosion.
- Replace worn baskets to stop tips from sinking in snow or sand.
- Stow poles when scrambling so you have free hands.
“Enjoy the path ahead, steady, secure, and ready for all the miles to come!”






Add new comment